
How do you make a clay pond? How do you seal a pond with bentonite clay?
I want a completely natural pond. What can I use to line it?
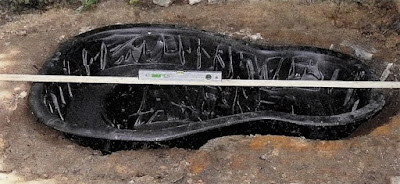
Farm ponds and many of the ponds seen in the countryside are usually natural dew ponds. These are no more than a hole dug in the ground, often generations ago. If they were dug in pure clay little more was done than to run a flock of sheep through the area of the pond to trample the clay down to make the hole watertight. If the dew pond was dug in a more porous soil or if there were a lot of stones mixed with the soil, a quantity of clay was imported from elsewhere and a layer of clay was placed over the whole pond before being 'puddled' down.This can still be done, but modern technology has made life much easier for gardeners who want a natural pond. It is possible to buy geotextile blankets or mats that are impregnated with a clay based substance called bentonite. The matting is laid over the base of the pond, and when it is soaked with water the bentonite expands to form an impermeable barrier. The bentonite can then be covered with a thick layer of soil to help prevent water plants from penetrating it and causing leaks.
Bentonite was originally applied in the form of granules, which were worked into the soil in the bottom and sides of the pond. It can still be purchased in this way, but the impregnated matting is much easier to use and ensures a consistent layer. Do not use bentonite if you have chalky soil.

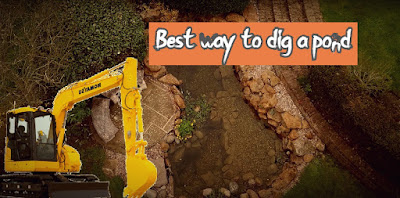
Digging out a natural pond
When you are excavating the hole for a puddled clay pond make sure that it is deep enough for both the layer of clay and the topping layer of soil, which means allowing at least an additional 30cm (1ft) on all surfaces. Because the clay must be covered with soil, the pond will be more successful if it has gently sloping sides.How do I puddle clay?
Before you begin, bear in mind that this is hard work. The traditional approach is to apply a layer of clay, 10-20cm (4-8in) thick, to all the surfaces of an excavated hole. The clay should be wet and pliable and should not have any stones in it.Work in sections around the pond. If the pond is too big to finish in a single day cover the wet clay with damp sacks or sheets of polythene so that it does not dry out. Apply the clay to the surface and pummel it into place so that it is welded into a solid cover. (If you have children they will have a great time helping.) If you have a large pond, hire a special roller, known as a sheep's foot roller, to help you do the job. Once the clay completely covers the sides and bottom of the pond, cover it with soil to a minimum depth of 10-20cm (4-8in) and then fill the pond with water. Do not let it dry out.
Protecting the clay
To deter burrowing animals and worms from penetrating the clay, it is worth lining the excavated hole with soot before you begin to apply the clay to the pond's base and sides. The clay will also be damaged by questing roots, so water plants with vigorous root systems should be grown in containers. Do not construct a clay pond near to established trees and shrubs and do not plant trees and shrubs near to a clay pond: the roots will penetrate the clay iayer and in the course of time they will cause leaks in the pond.What shall I do if l do not have clay in my garden?
If you do not have clay in your garden, you may be able to buy it locally. Be careful what you get, however, because you may well be sold a load of clay subsoil that contains roots, stones and other debris, which will make it impossible for you to make a watertight surface. The clay may also be too dry, and you will then have to leave it to dry out completely, break it up into small pieces and then rewet it until it makes a sticky mass which is suitable for use.Bentonite granules or matting are a better and easier alternative than traditional clay.


Comments
Post a Comment